Guides/Make a first-year collage from your monthly baby photosFirst-year collage
Make a first-year collage from your monthly baby photos
You'll get one photo for each month, in a grid you can print or share.
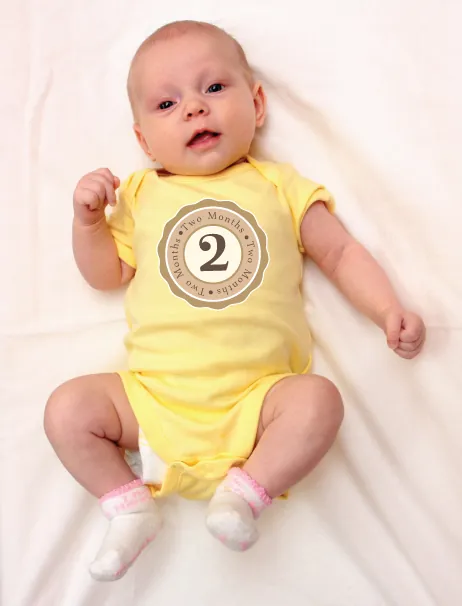
You already take a picture each month with a sticker on the onesie. Choose one frame from each month, then lay the year out in order.
Here's what you need
- The monthly photos you already took
- A note of the month, if the sticker is hard to read
- The crop tool on your phone
- A three-by-four grid, or a four-by-three grid
- A printer, or a way to send one file
Choose one photo for each month
Open one month and pick a single frame. Look for the face and the sticker in the same shot. If you took several, keep the calm one near the middle.
Skip a blurry frame, or one where a hand covers the sticker. You need one picture for that month. The rest can stay in the album.
Keep the framing steady
Use about the same distance each month. If the baby fills the frame in month two, do the same in month 10.
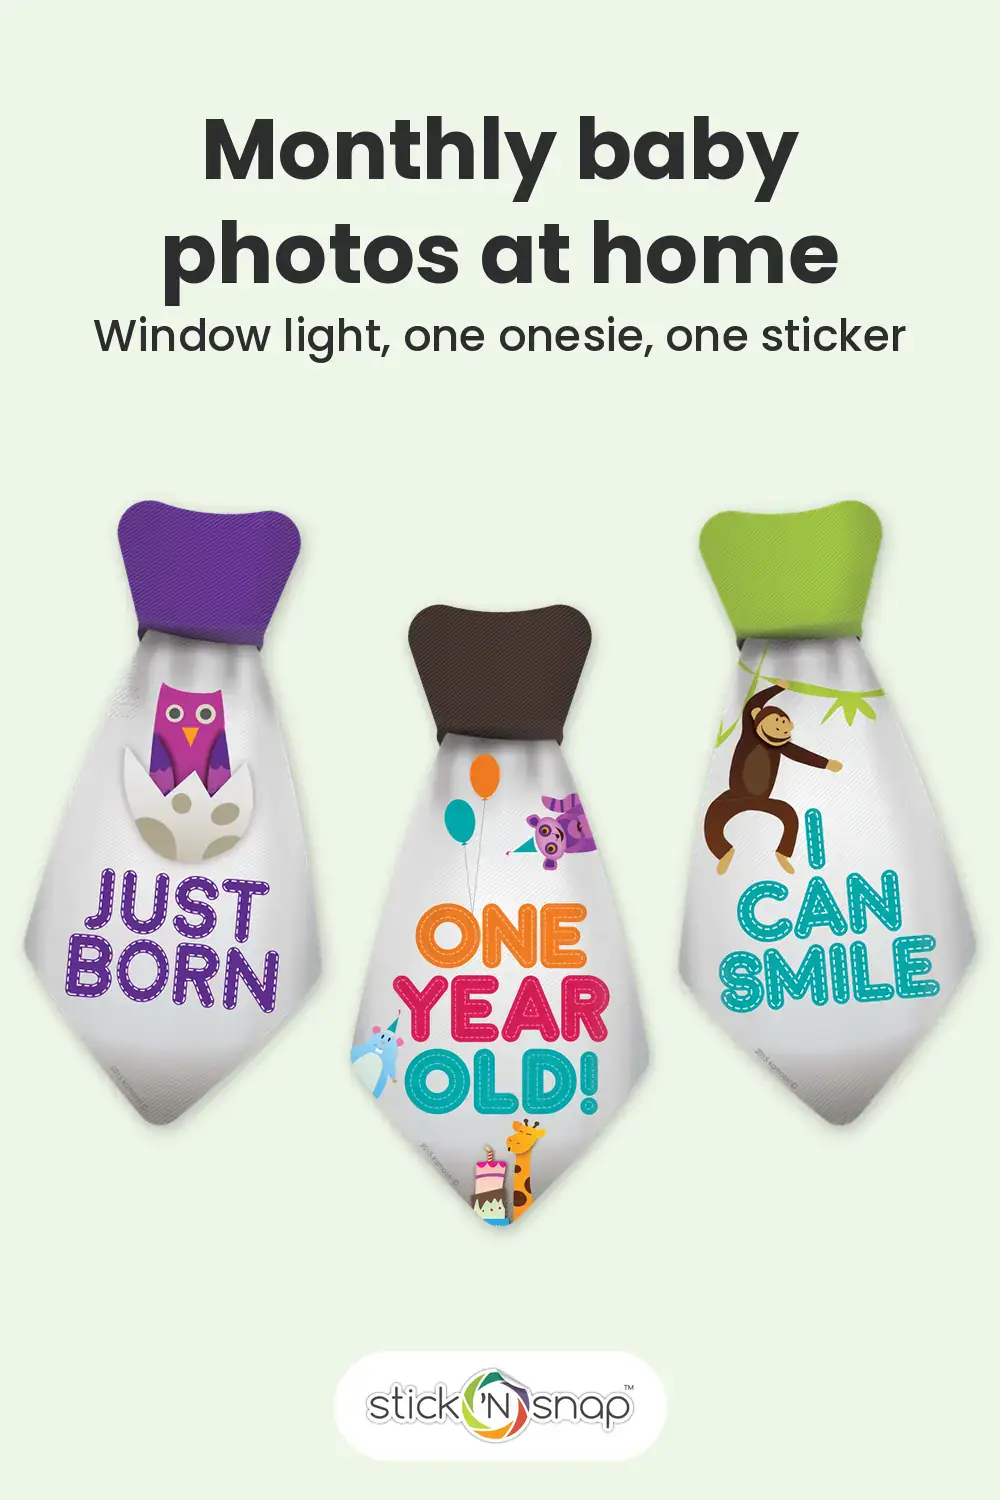
Hold the camera about level with the onesie, the way you did before. Monthly baby photos at home covers window light, a plain background, and a short session. Use it for any month you still need to shoot.
Crop every photo the same way
Pick one shape and use it all year. A square keeps the cells even. A four-by-five crop is a little taller, and it still lines up. Crop all 12 to that same shape.
Keep the face and the sticker inside the frame. If the sticker sits on the chest, leave room under the chin so the month stays visible.
Don't stretch the photo to force the shape. A stretched picture bends the baby, and the grid will show it.
Lay the months out in order
Read left to right, then down the page. Put the earliest month in the first cell, and the first birthday in the last.
A three-by-four grid is three photos across and four down. A four-by-three grid is four across and three down. Either one holds 12 photos. Pick the shape that fits your paper or your screen.
Leave a small, even gap between the photos so each month has its own edge.
Add the month sticker as the label
The sticker in the photo can be the label. If you can read the month, skip a second caption. If the sticker is small, type the month under the photo and use the same type on every cell.
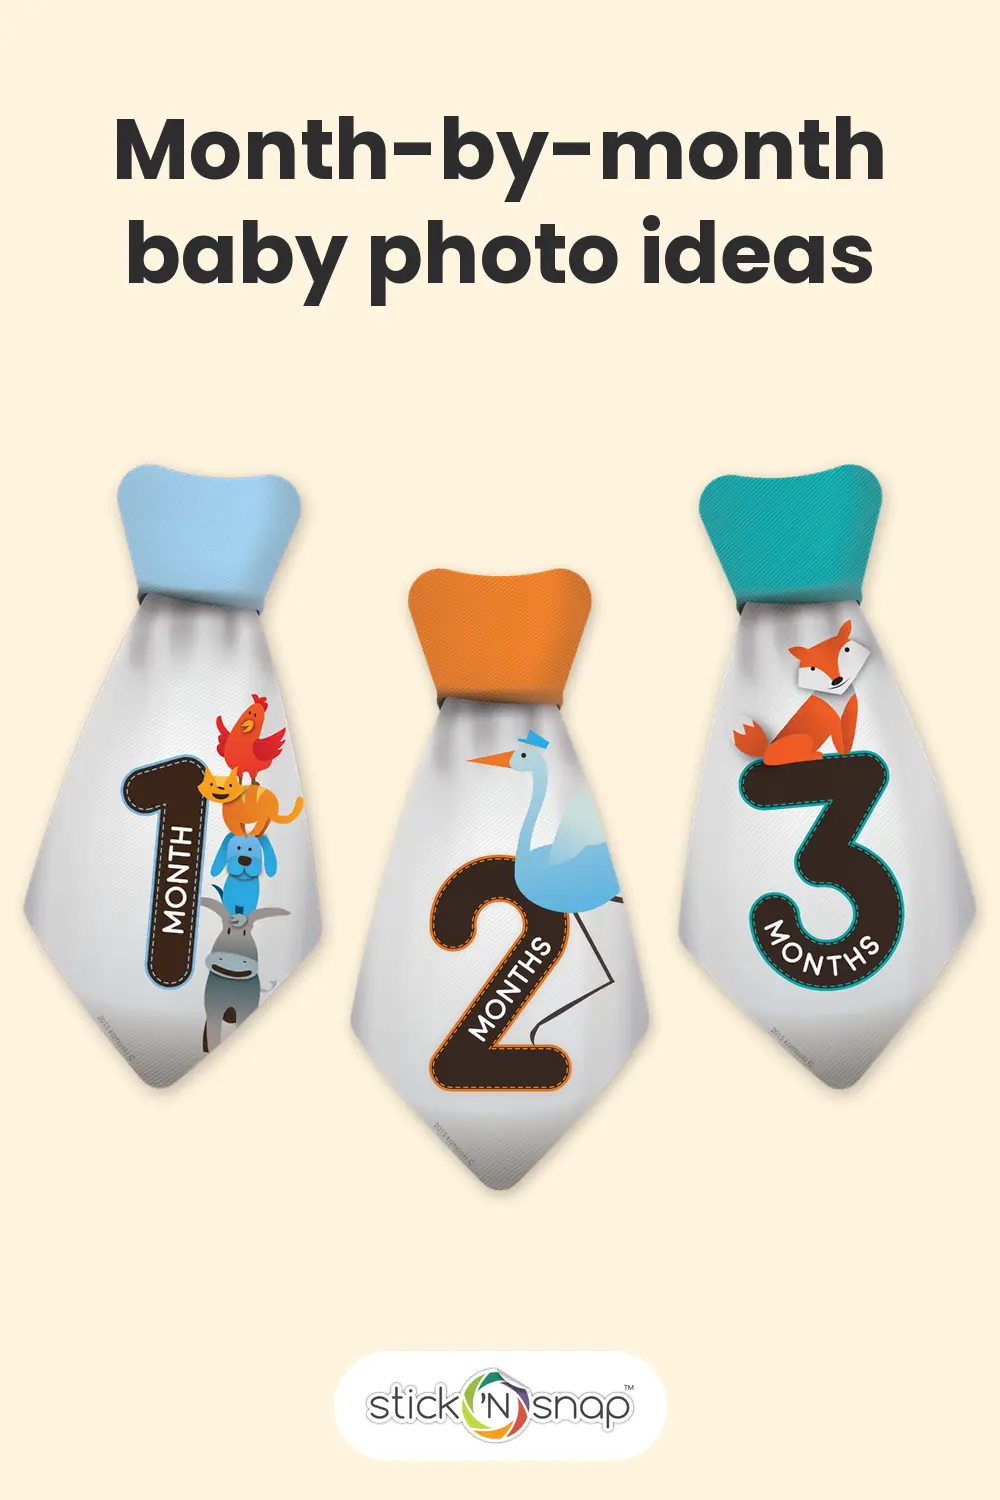
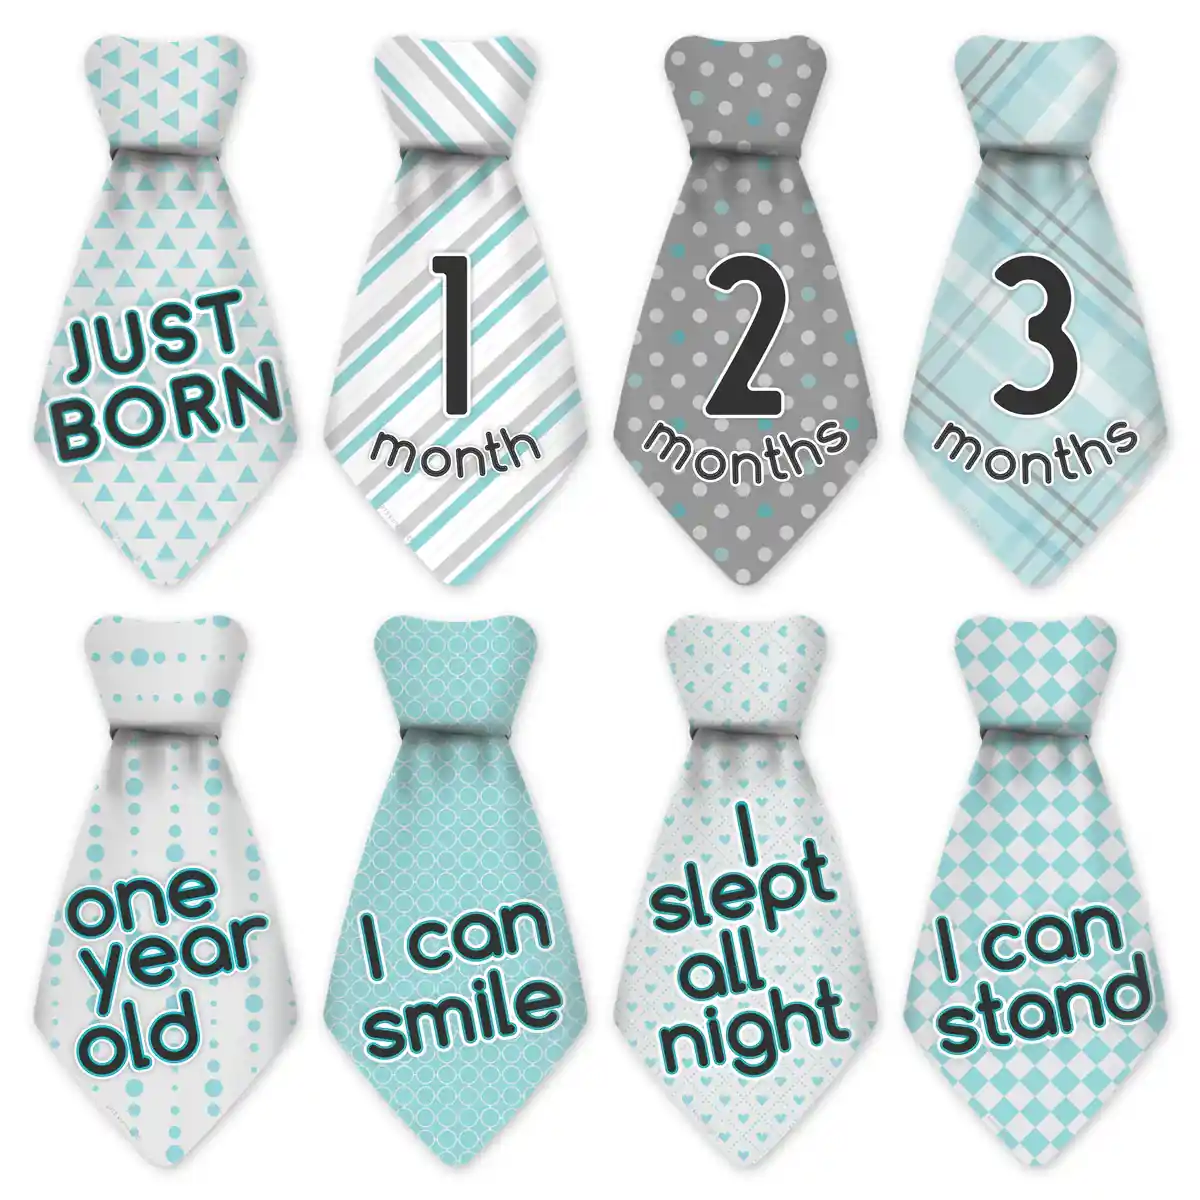
Match the wording you used all year, such as the month on the necktie sticker. Monthly Onesie Stickers and Happy Heroes both mark the month on the onesie. We list both sets in the shop, on the Onesie stickers page.
Print the grid or share it
Save one image of the finished grid. Send that file, or print a page for a book at home. A home printer is enough.
If one face looks dark, brighten that photo and export the grid again.
If you missed a month
Leave that cell empty, or use a plain card with the month written on it. Don't reuse a photo from another month and change the label. The other months still show the year.
If you find the missing photo later, drop it into the empty cell and export the grid again.
If the crop cuts off the sticker
Zoom out one step and crop again. The face can sit a little smaller. The sticker has to stay readable, because it is the month label. Pull the crop back until the tie and the face are both in the frame.
If the photos were taken in different rooms
You can still make the collage. Match the crop, keep the months in order, and let the rooms differ.
Newborn onesie photo ideas walks through a short first session on the floor. Month-by-month baby photo ideas has one idea for each month if you still have shots to take.
If you only want a digital copy
Skip the printer. Save the grid and send the file. You can print that same image later if you want a paper copy.
Things you should know
Stay with the baby while you take the photos. A baby can roll off a bed or a couch. If they can't sit yet, get down on the floor with them. Keep pillows off a young baby's face.
The sticker is there for the picture. Press it onto a clean, dry onesie, take the photo, and peel it off when you are done. Don't leave it where the baby can chew it.
Stop when the baby has had enough. You can finish that month on another day. A photo is not a reason to keep a baby upset.
- Monthly Onesie Stickers
The necktie set for a monthly onesie photo.
- Happy Heroes
Another monthly necktie set, listed in the shop.
- Onesie stickers
The onesie sets on the shop page.
- Shop
Every listing, including the onesie sets.
- Monthly baby photos at home
Window light, a plain background, and a short session.
- Month-by-month baby photo ideas
One photo idea for each month of the year.
- Newborn onesie photo ideas
A short first session with the sticker on the onesie.